Turning On & Off
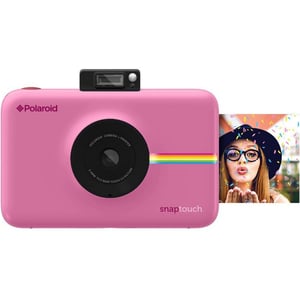
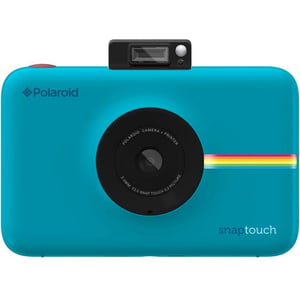
The pop-up flash mechanism is also the power button that turns the camera on and off. When you unpack your camera the pop-up flash mechanism should be open. To turn on the camera, gently press down on the mechanism until it clicks to close it, and then press again to open it.
Battery Charging
Charge the cameras built-in battery by connecting it via the included micro USB cable to computers USB port or to a wall charger. The status indicator bar will show the charging progress. If the camera is turned off, the LCD will automatically turn on and display the battery charging status for a few seconds and then turn off. The camera can still operate while being charged (it will charge at a reduced rate.) It takes approximately 2 hours to fully charge the battery. Under normal conditions, the charge lasts for about 25 prints.
Memory
The cameras internal memory can hold up to 10 photos. Insert a microSD card to expand the memory. The camera accepts a microSD card up to 128GB.
LCD Screen Timeout
The LCD viewfinder will turn off after a minute if the camera is not in use. You can change the time setting in settings > screen timeout.
Shutter button
Press the shutter button to take still photos and photobooth shots, and to start and stop recording video. Press and hold down the button to take photo burst shots (quick succession of photos.) Also, pressing the shutter button will bring you back to the live viewfinder whenever youre in a different screen.
Loading Photo Printing Paper
This camera uses only Polaroid 2x3Premium ZINK Zero Ink Paper. Photos will print on 2 x 3 smudge-proof, waterand tear-resistant, adhesive-backed sheets. Theres no messy ink or toner cartridges to contend with. You can also use Polaroid Rainbow Border 2x3 Premium ZINK Paper, which will print your photos with colored borders.
Automatic Printing
If you have set your camera to the Auto Print mode, your photo will print as soon as youve taken the picture.
Size (In file view only)
You can enlarge photo by 300% maximum. You cannot minimize less than 100%. Each tap of the plus symbol will enlarge the photo by 25%. each tap of the minus symbol will reduce it by 25%. You will also see 4 arrows at the edges of the image. Tapping an arrow will move the image over in increments of 10% of the photos height or width.
Video
After recording, you can tap the play button to view the video. You will also be able to forward, rewind, or pause. If no action is taken within 3 seconds, the playback controls will disappear.
Video Settings
You can change the video quality to 1080p, 720p, or VGA (Video Graphics Array 480p) resolution. The default setting is 1080p. Video is taken at 30fps.
White Balance
Here you can adjust how the camera will adapt the capture of your photo to the lighting of the environment you are in. Your options are: AWB (Auto White Balance) which will automatically adjust according to what the camera perceives is needed, incandescent, fluorescent, sunny, cloudy, and shade. AWB is the default setting on the camera.
Light frequency (video only)
You can change the light frequency in which the camera will capture video. Your options are 50 or 60Hz. This will usually be pre-set according to the country youre in. For example, in the USA, Canada, and Japan its usually 60Hz, and in most other countries its usually 50Hz.
Time Stamp
You can choose to place a stamp with the cameras set date and time on your photos or videos. Note: If this feature is selected, the time stamp will print on all your photos, including those printed via the app.


